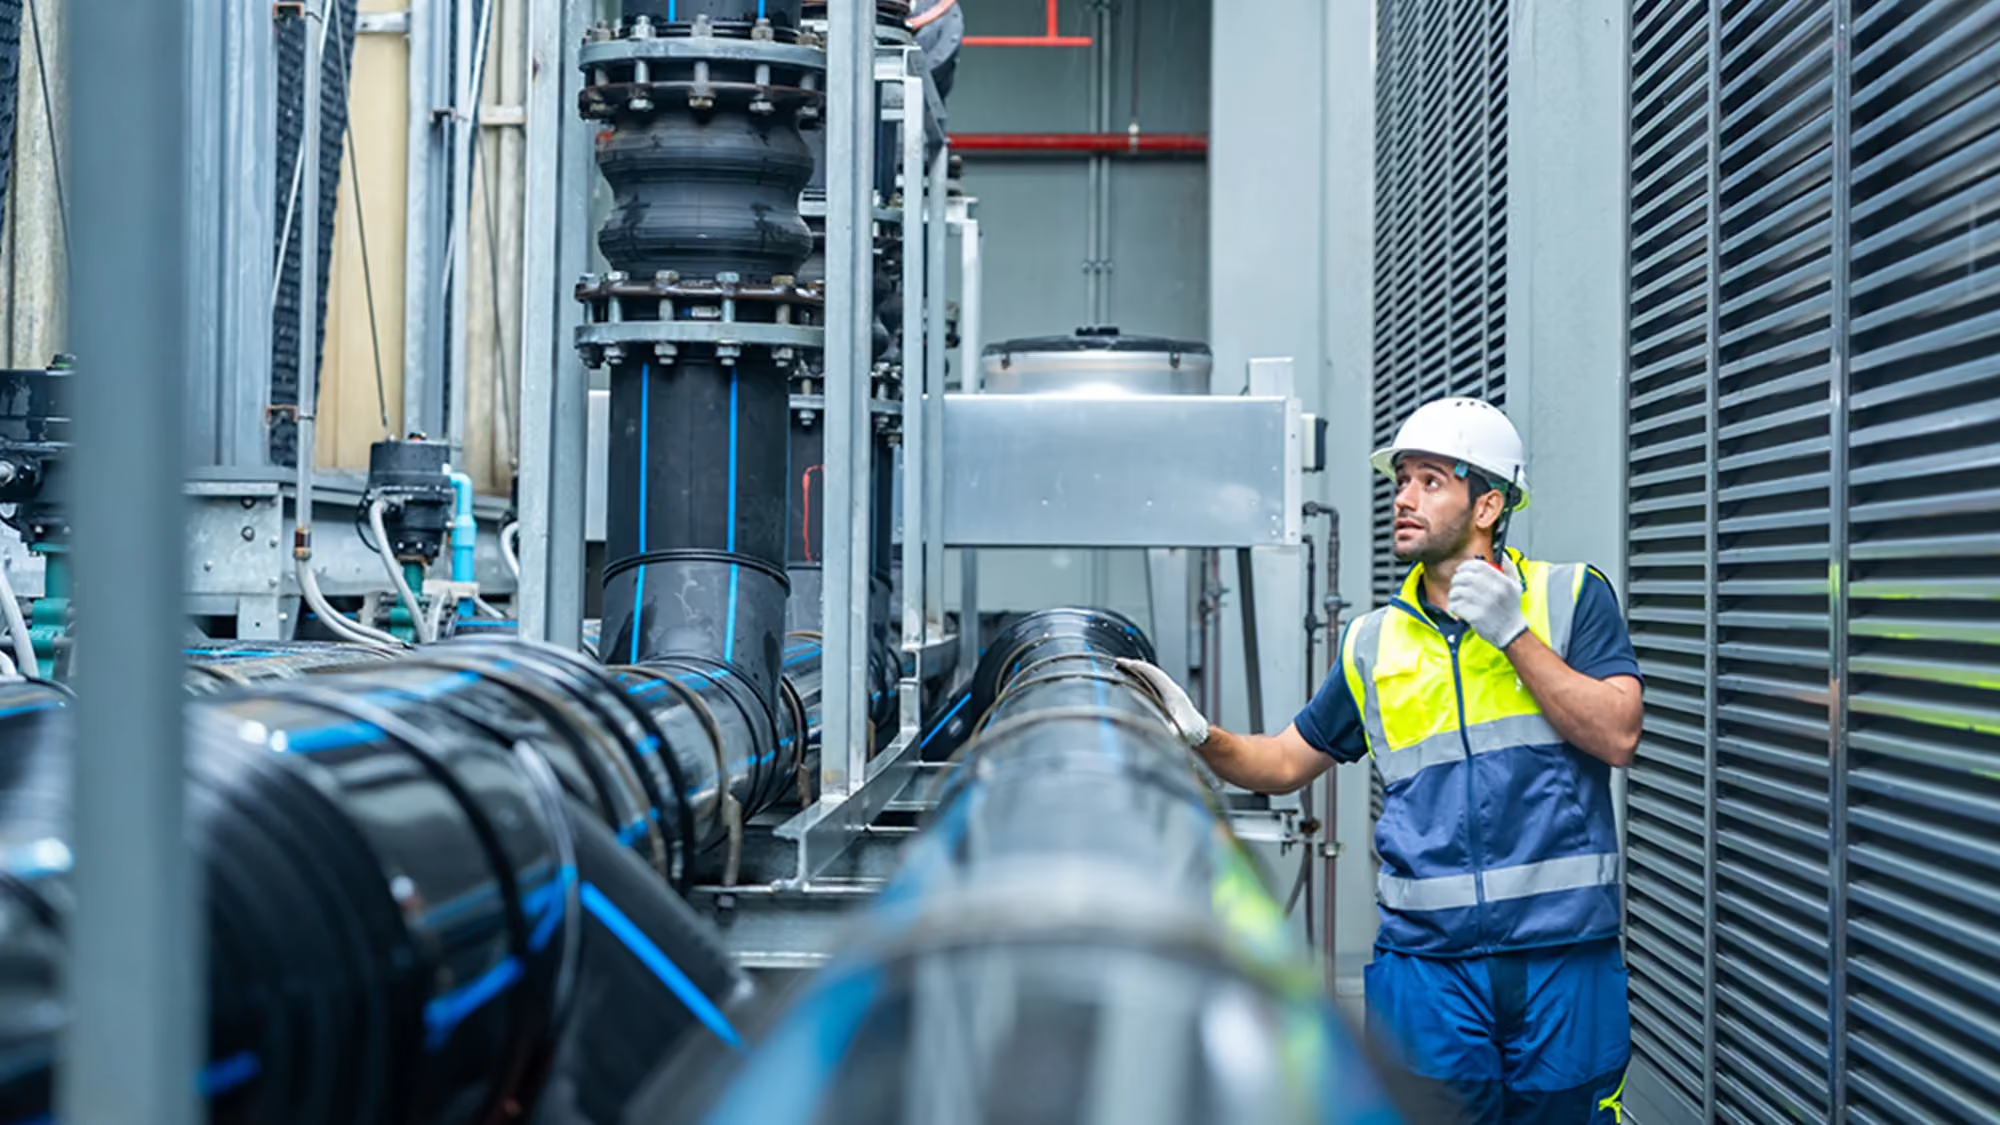

A Contractor’s Checklist for Successful Dust Collection Installations
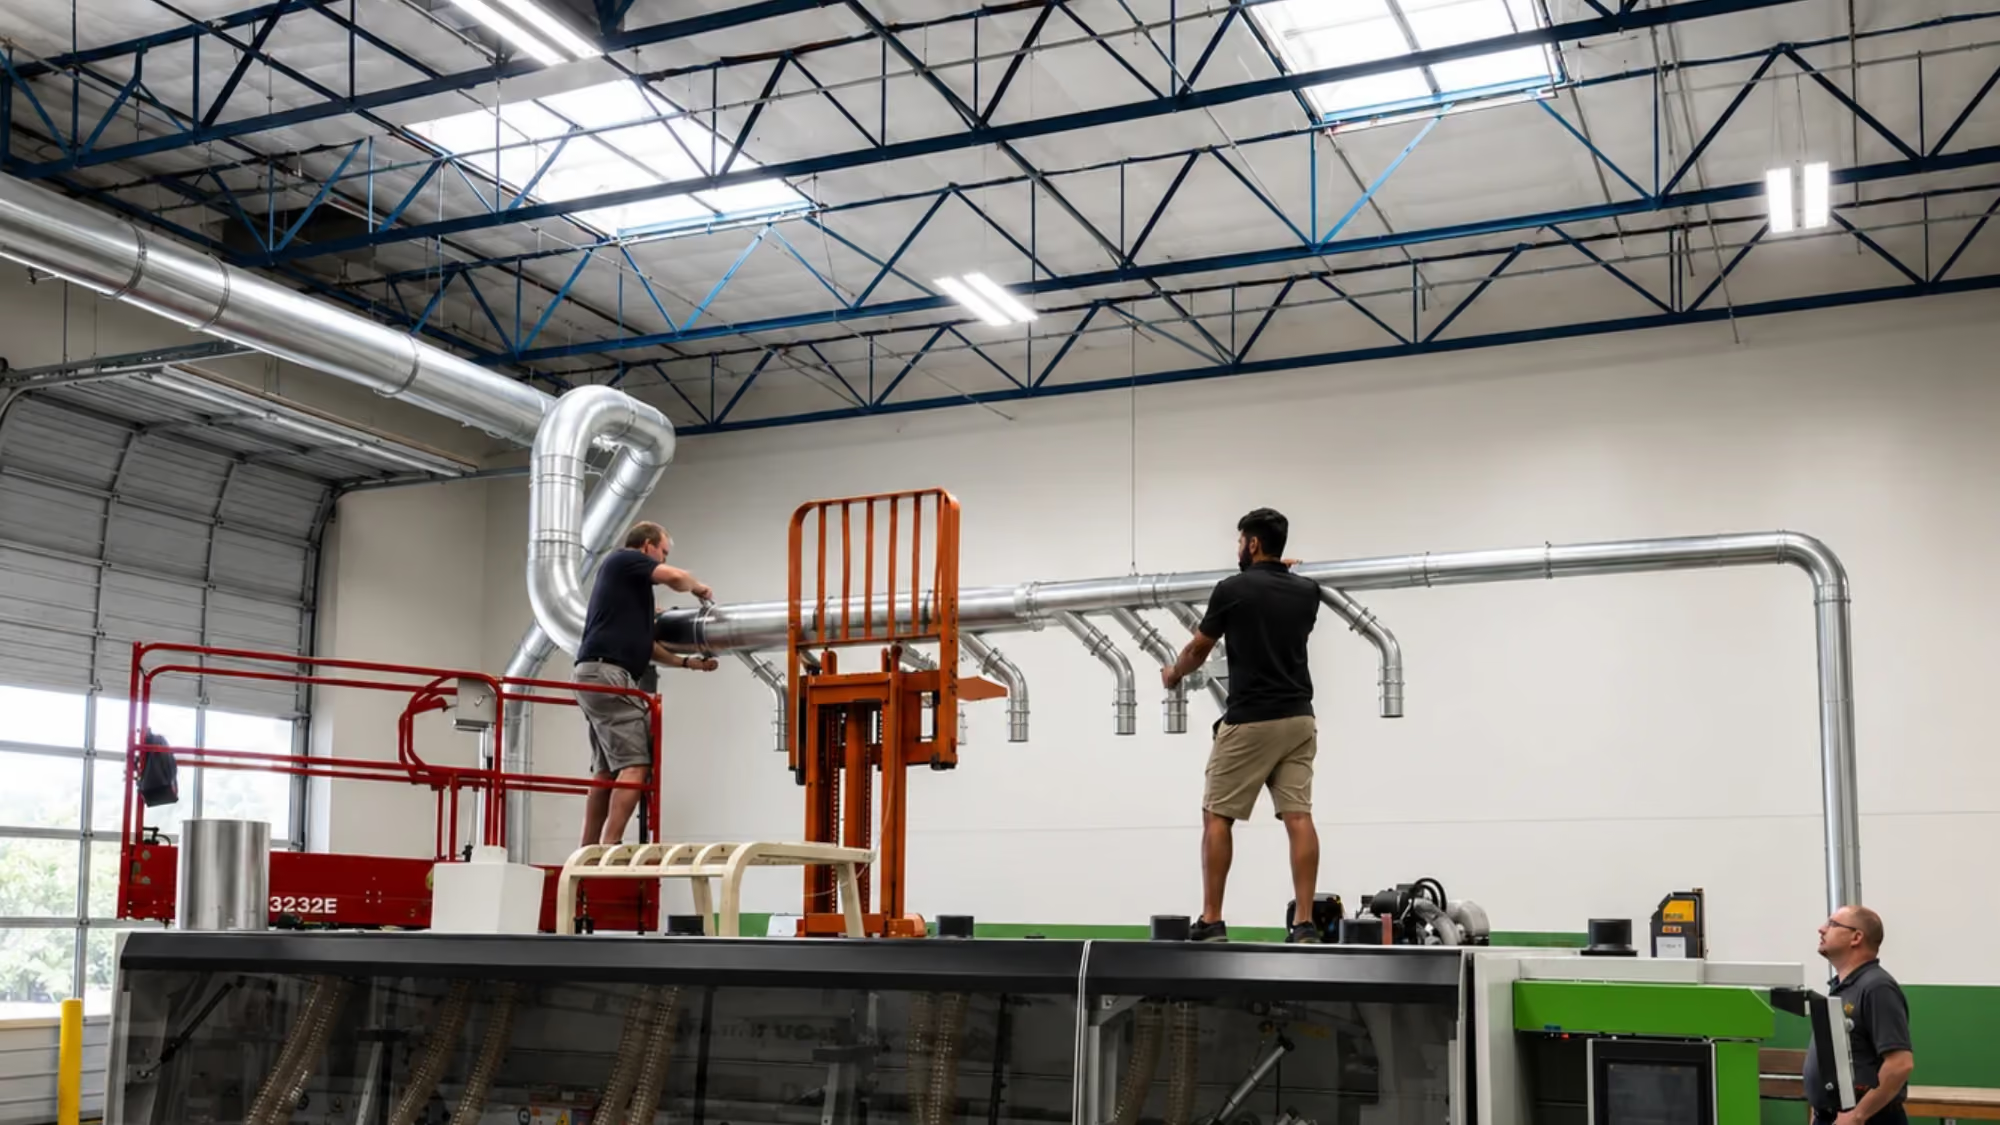
Most dust collection callbacks don’t start with bad equipment. They start with a missed measurement, a short shipment nobody caught at the dock, or a branch line that went in without anyone checking velocity at the drop. A successful install is really a sequence of small checks done in the right order — and the crews that run clean jobs are the ones that treat those checks as part of the work, not extra steps on top of it. Here is a field-ready checklist your team can use on any dust collection project.
Before You Mobilize
The fastest installs are decided before the truck is loaded. Time spent here saves days on the lift.
- Get a current system drawing — every pickup, branch, main, and the collector inlet, with diameters and fitting types called out.
- Walk the site against the drawing — column lines, beam heights, sprinkler mains, cable tray, and anything that changed since the layout was drawn.
- Confirm machine ports with the end user — equipment gets swapped more often than drawings get updated.
- Confirm collector and fan location — inlet size, orientation, and whether the collector is indoors or outdoors.
- Confirm material and gauge by run — Galvanized Steel, Stainless Steel, or heavy gauge for abrasive material.
- Flag combustible dust requirements early — explosion isolation valves, spark traps, and grounding belong on the material list, not discovered at inspection.
Projects designed in DuctQuote, a free web-base 3D ductwork design tool from US Duct, come with 3D drawings and an order of install. Hand the order of install to your foreman before day one — it takes the guesswork out of sequencing.
Receiving Material
A short or wrong shipment discovered at the top of a lift costs a day. Discovered at the dock, it costs a phone call.
- Count against the packing list and the drawing — every fitting and straight section.
- Verify labels — diameters, gauges, and material, especially where similar sizes run side by side.
- Count clamps and gaskets — every clamp-together duct joint needs one. Extras are cheap insurance.
- Inspect rolled lips — a dented lip will not seal properly.
- Stage by run or zone — so crews pull only what they are about to hang.
During Installation
- Support it properly — follow the support spacing on the drawings or specified by the engineer, and support at or near fittings, branches, and changes in direction. Use the right hangers and supports for the structure.
- Keep hangers off the joints — clamps need to open later for cleaning or changes.
- Work from the collector out — unless the order of install says otherwise.
- Seat the gasket first — fully seat the gasket on the rolled lip before closing the over-center clamp. A pinched or rolled gasket is the most common source of joint leaks.
- Use adjustable sleeves — take up field dimensions with sleeves instead of cutting and re-fabricating.
- Enter branches with the airflow — laterals and Y-branches at the correct angle reduce pressure drop.
- Minimize flex — use flex hose only at the machine connection, short and straight. Excess flex adds SP loss and collects material. Use static dissipative hose where specified.
- Gate every branch — place a blast gate on each branch close to the main so idle drops can be closed and the system stays balanced.
- Ground and bond — per the project specification, with continuity across flex and any non-metallic connections.
This is where clamp-together duct earns its keep. Rolled-lip, gasketed clamp connections install up to 70% faster than traditional welded or flanged duct, adjust in the field without welding, and can be reopened and reused when the layout changes.
Startup and Verification
An installed system is not a finished system until it moves the air it was designed to move.
- Confirm fan rotation — before anything else.
- Set the gates — open the gates that will be open in normal operation; close the rest.
- Take static pressure readings — at the collector inlet and representative points in the system, and compare against design values.
- Check velocity at each drop — low velocity usually points to an open branch elsewhere, a leak, or too much flex.
- Walk every joint with the system running — reseat any gasket that is not sealing.
- Record final gate positions — so the end user can return the system to its balanced state.
Common Installation Missteps
1. Skipping the site walk.
The drawing is only as good as the last time someone checked it against the building. Obstructions found during install turn into field changes and costly delays.
2. Closing clamps over an unseated gasket.
It looks finished from the floor and leaks for the life of the system. Seat first, then clamp.
3. Adding flex to make up for a bad measurement.
Extra flex hose is the most common field “fix” — and one of the biggest sources of avoidable SP loss.
4. Calling it done without readings.
Without startup static pressure and velocity readings, there is no baseline for troubleshooting later and no proof the system performed at handoff.
Closeout and Handoff
- Walk a punch list — with the end user or dealer.
- Hand over the documentation — as-built drawing, startup readings, and gate settings.
- Show maintenance the system — where cleanouts are and how clamps open for future changes.
- Record field changes — so the drawing matches what was installed.
Questions come up on every job. US Duct provides live support during the install process, not just at the quote. Components ship to spec, quotes turn around in 24 hours, and every product is 100% made in the USA.
Bidding a dust collection install? Request a Quote or Contact Us to get drawings, material, and support lined up before you mobilize.
Related Resources
- Clamp-Together Duct Install Guide
- Adjustable Sleeve Duct Install Guide
- How Contractors Can Reduce Installation Time on Dust Collection Projects
- How to Get a DuctQuote in 2 Steps
- General Clamp-Together Bid Specs
- Gates Comparison Charts
- Top 5 Mistakes Shops Make with Dust Collection—and How to Fix Them
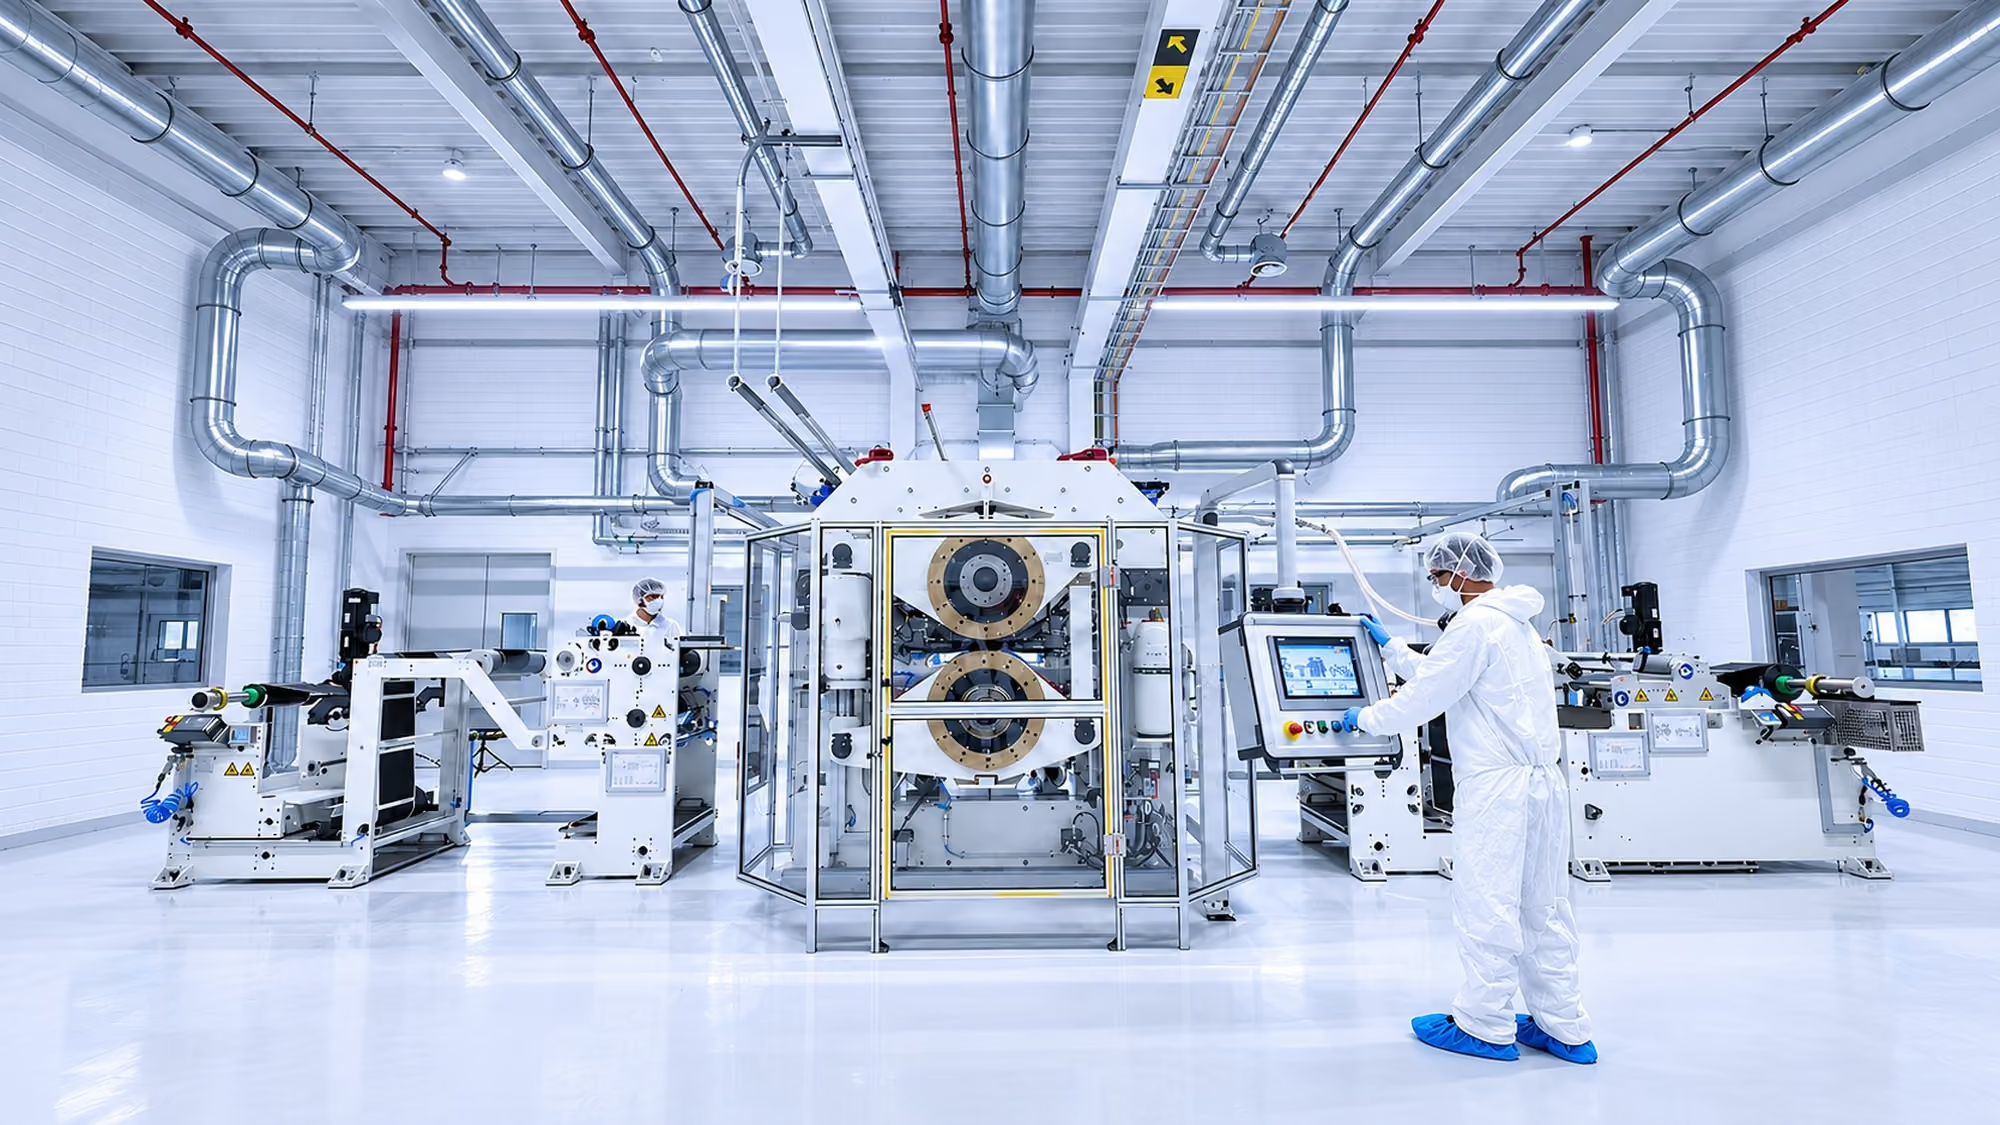
Battery Manufacturing Dust Collection: Design Considerations | US Duct
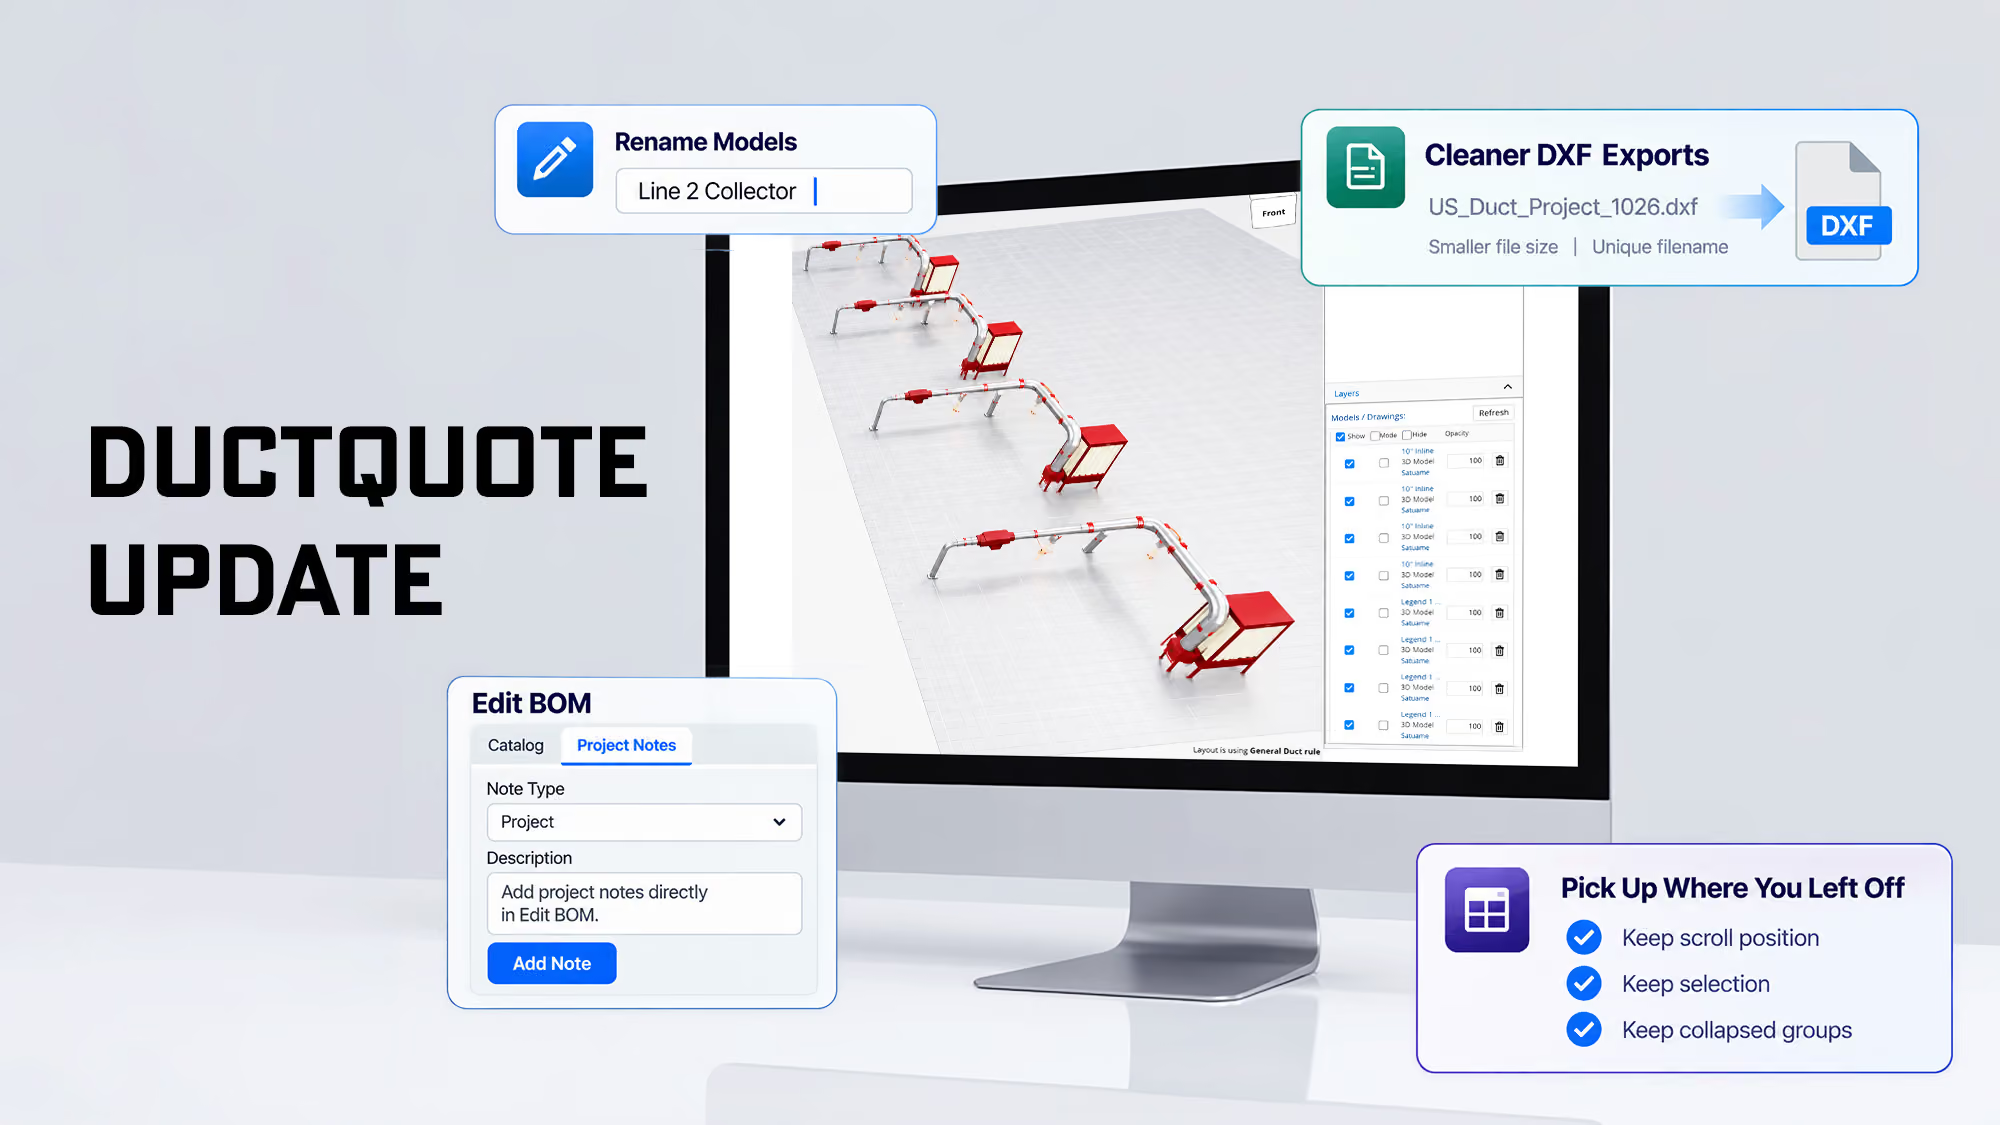
DuctQuote Update Oct 2026